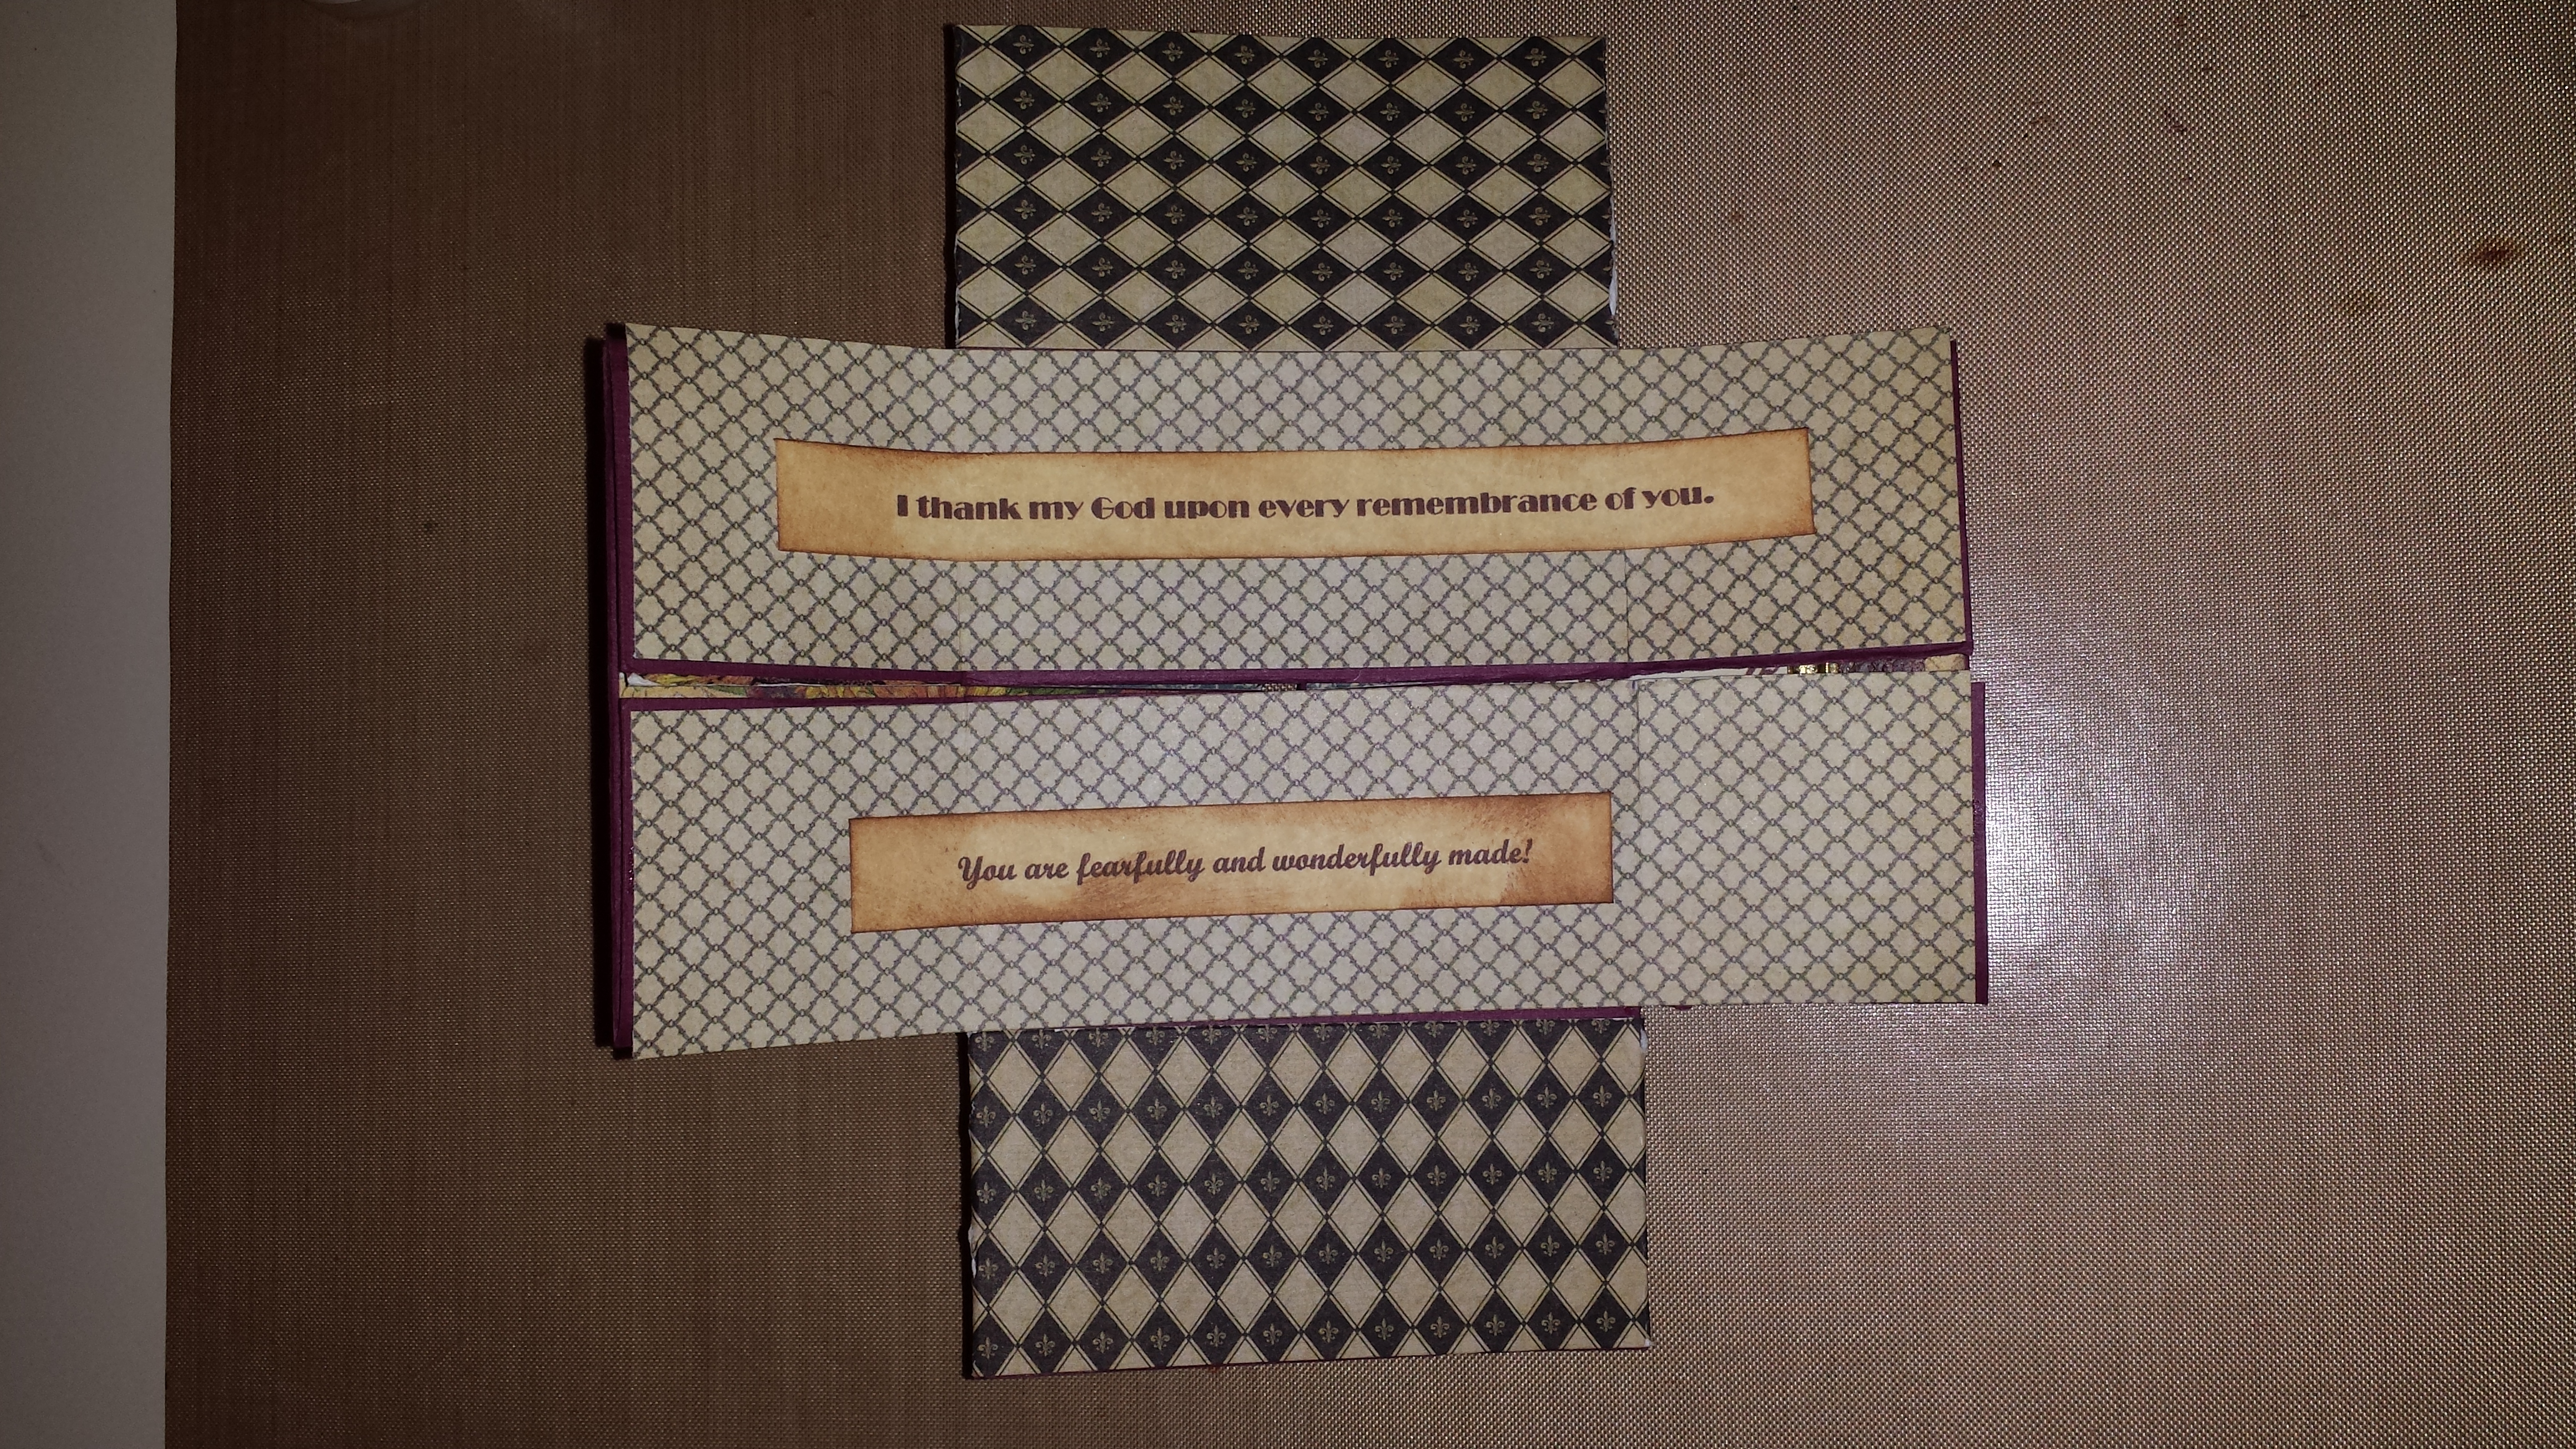
I needed (wanted) to make another card for a friend that lots of people could sign. I’ve been interested in mini albums for awhile now and thought it might be nice to make a card like a mini album with lots of pockets, tags and mini envelopes and cards. This is what I came up with. I started with a 12″ x 12″ sheet of card stock and cut it to 12″ x 9″ with 9″ being the height. I scored the length of it at 3″, 6″ and 9″ to make 4 panels each 3″ wide. I then cut 8 panels of designer paper slightly smaller than 9″ x 3″ and adhered it to the panels of the card and then added pockets and mini envelopes and bling and embellishments. The designer paper is A Ladies Diary by Graphic 45, my favorite paper company. I had trouble figuring out how to keep the envelopes closed so I searched for a solution online. I didn’t like any of the solutions other people used. They just weren’t right for this card. I finally found Velcro mini fasteners on Amazon: Here They were PERFECT!
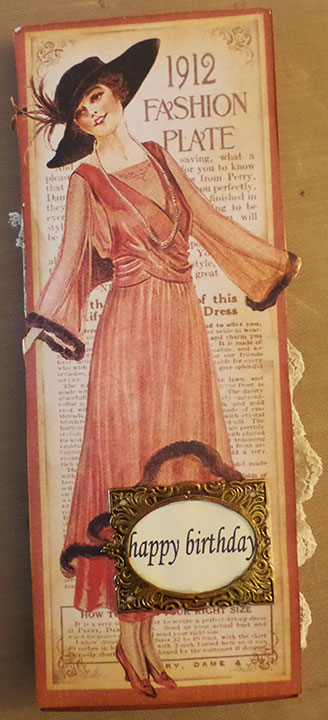
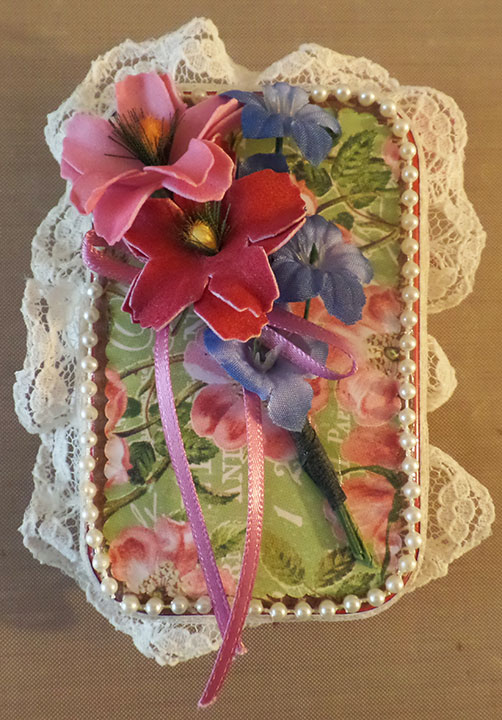
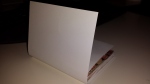
 Front of the card. I found the metal
frame in my stash and printed ‘happy
birthday’ on card stock to put in the frame.
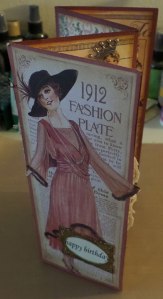 Card standing up.
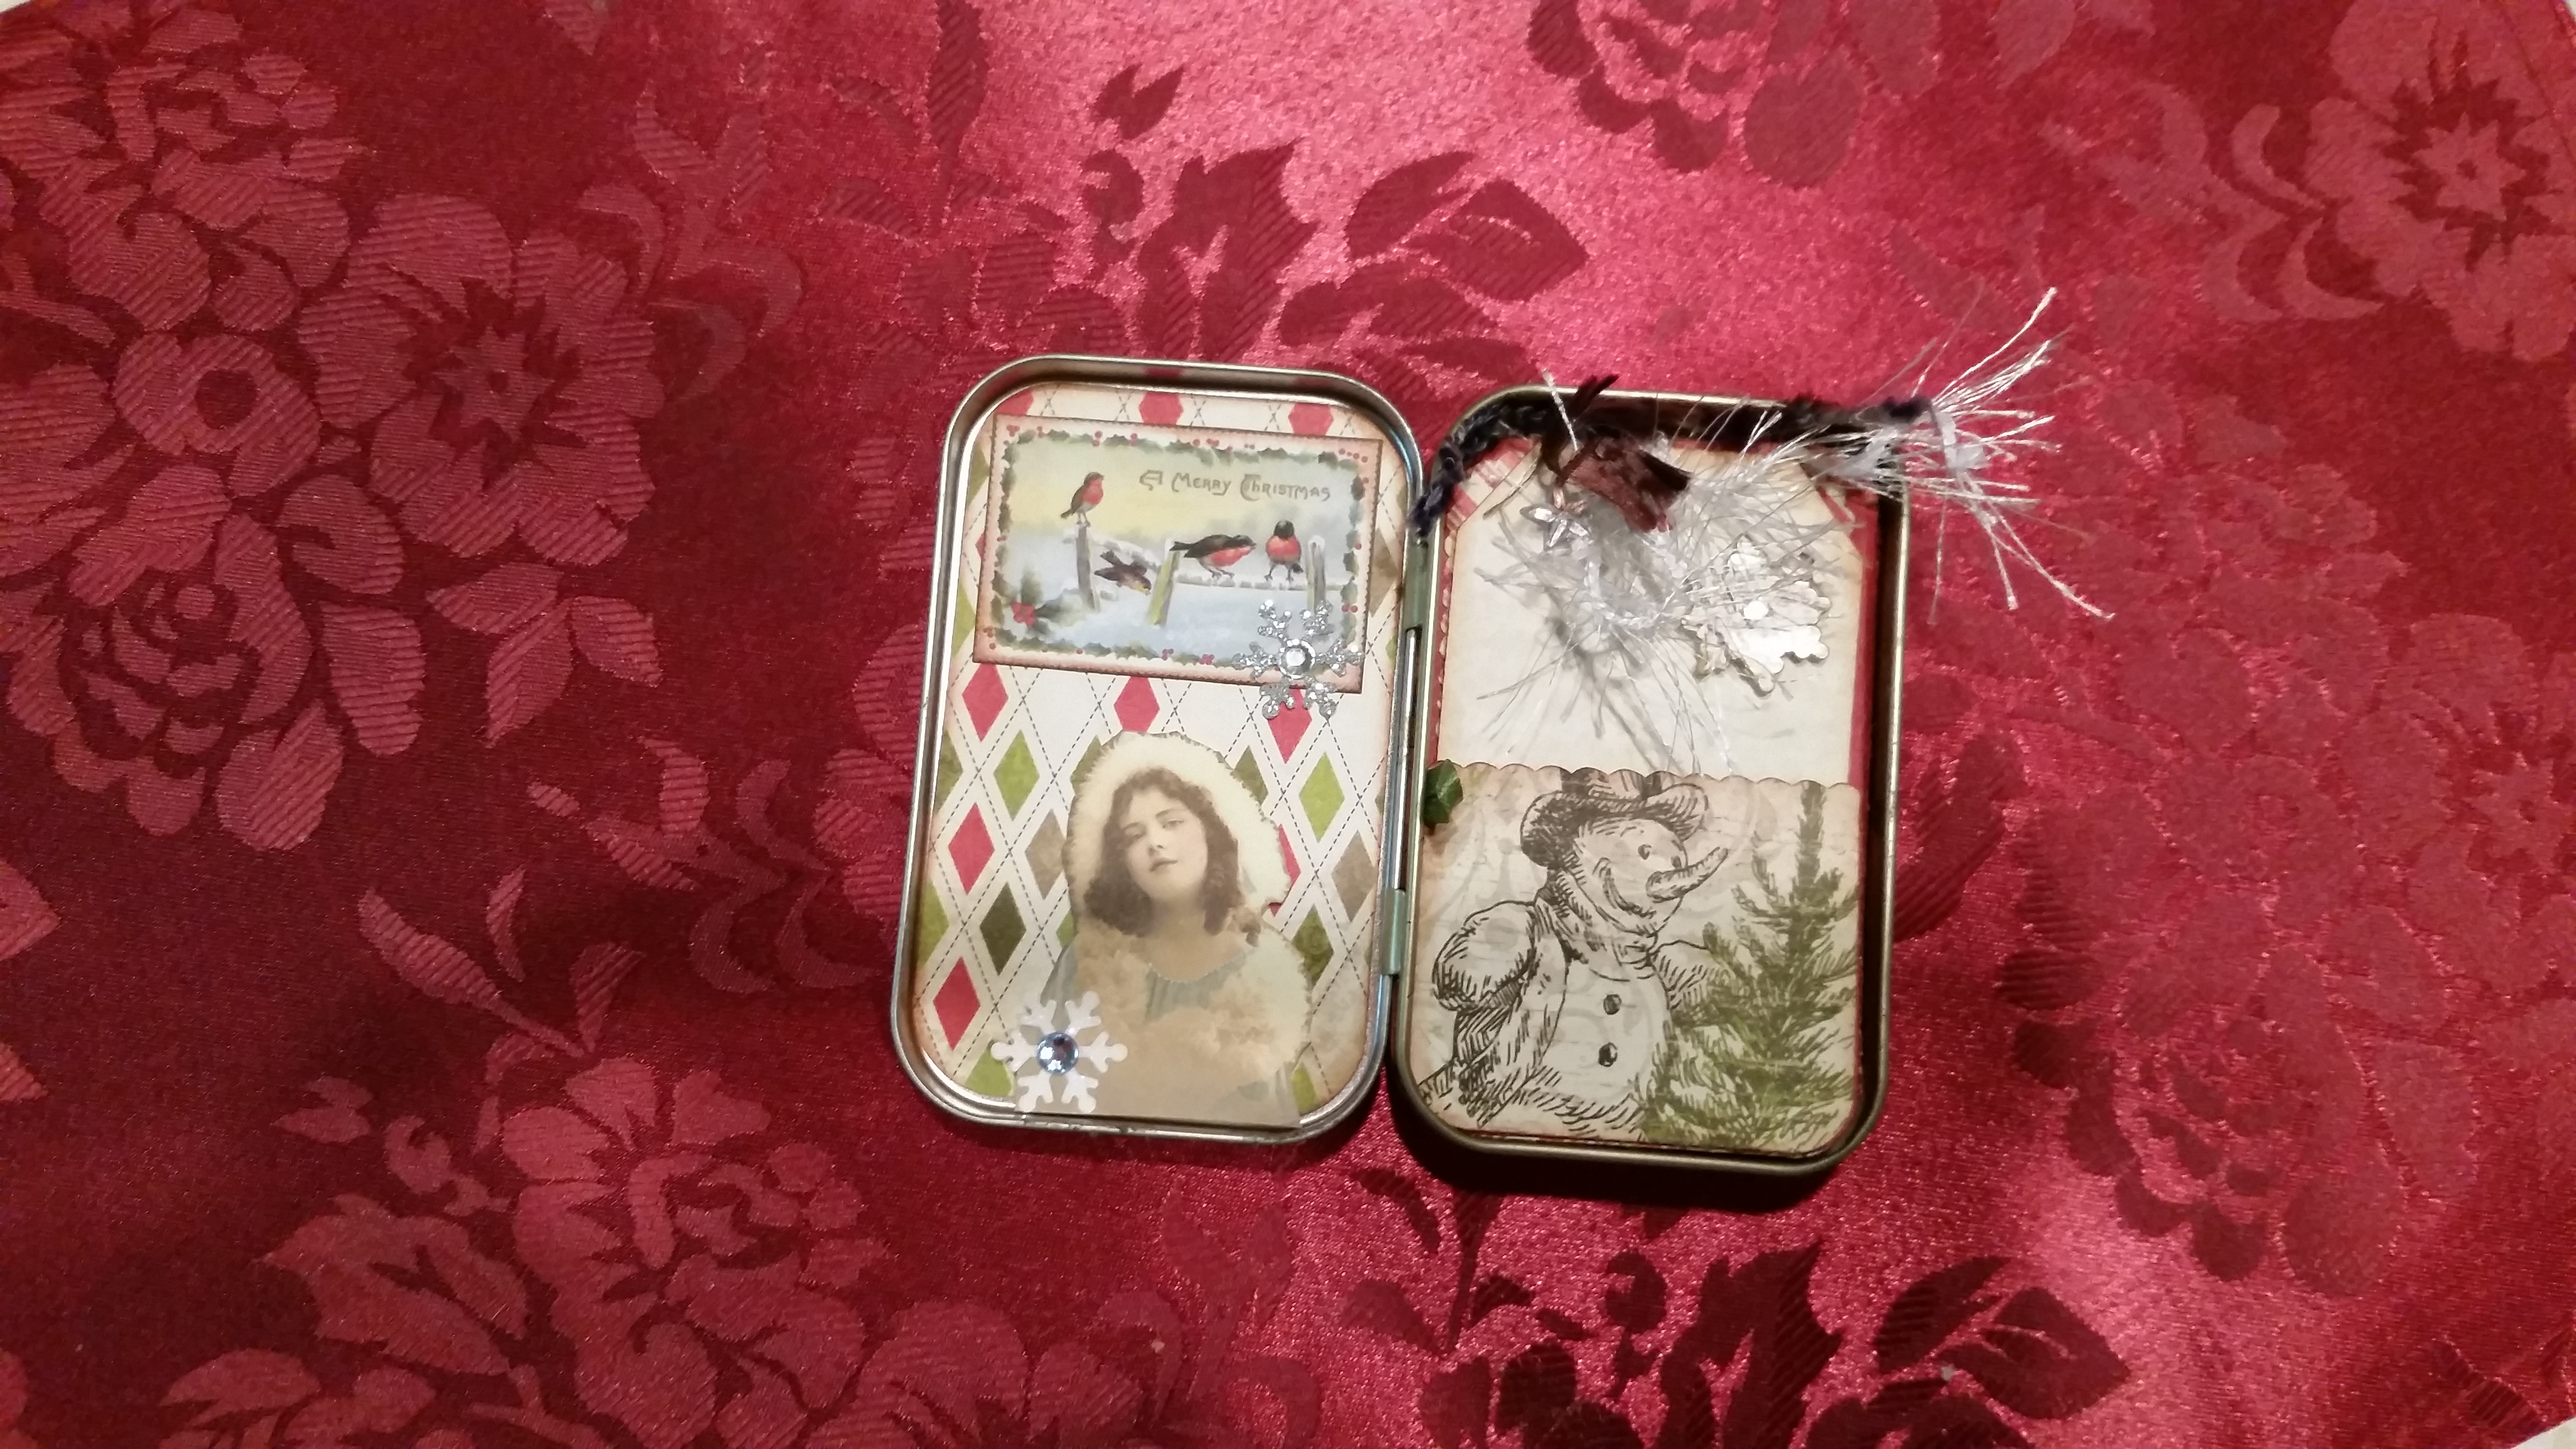
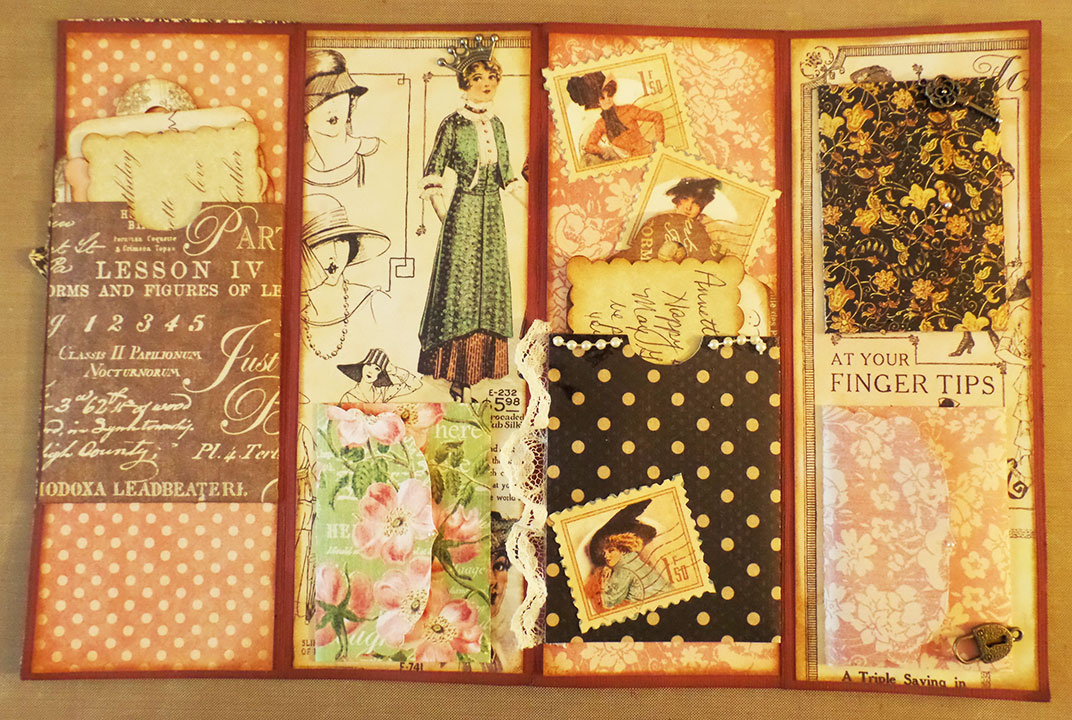
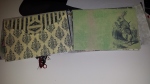
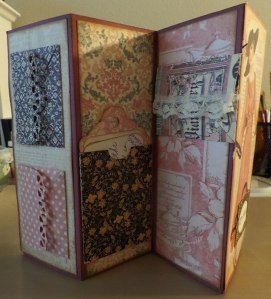 Inside view of the card standing.
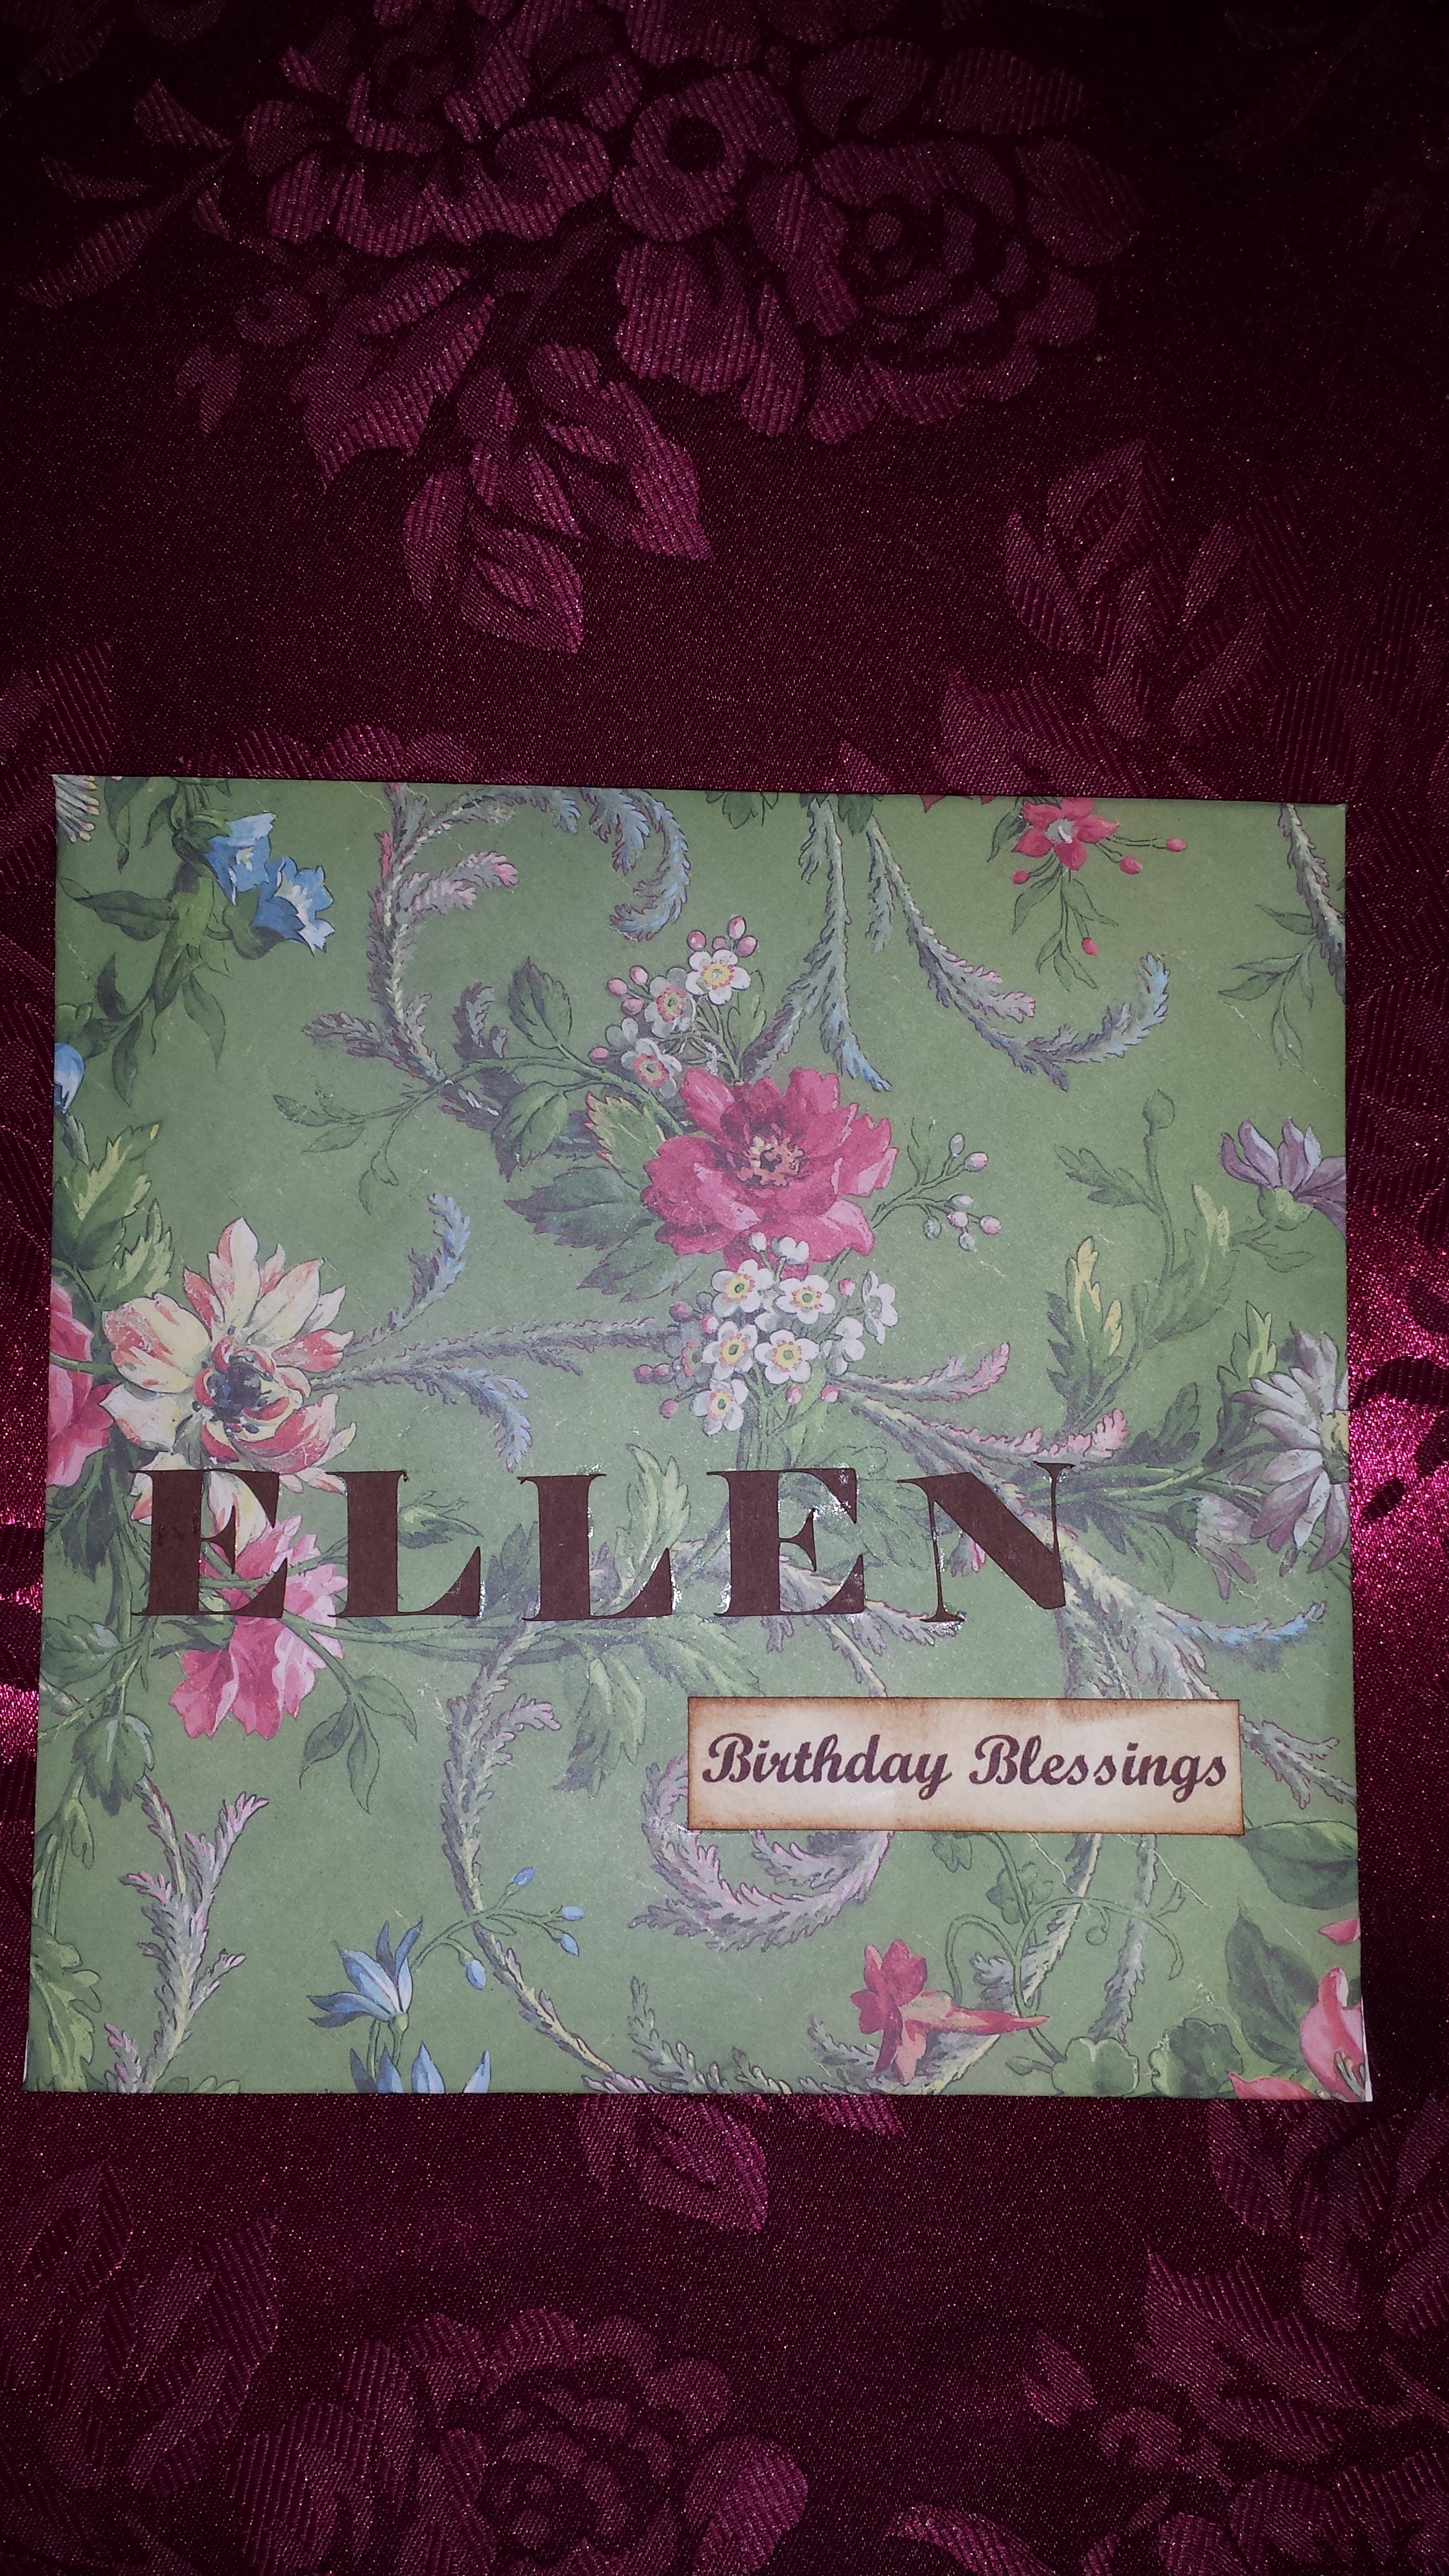
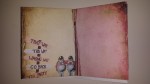
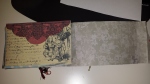
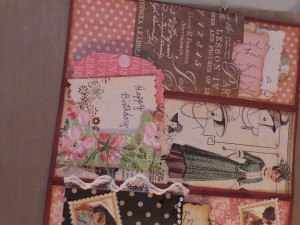
 Front side
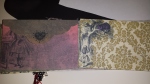
 Backside
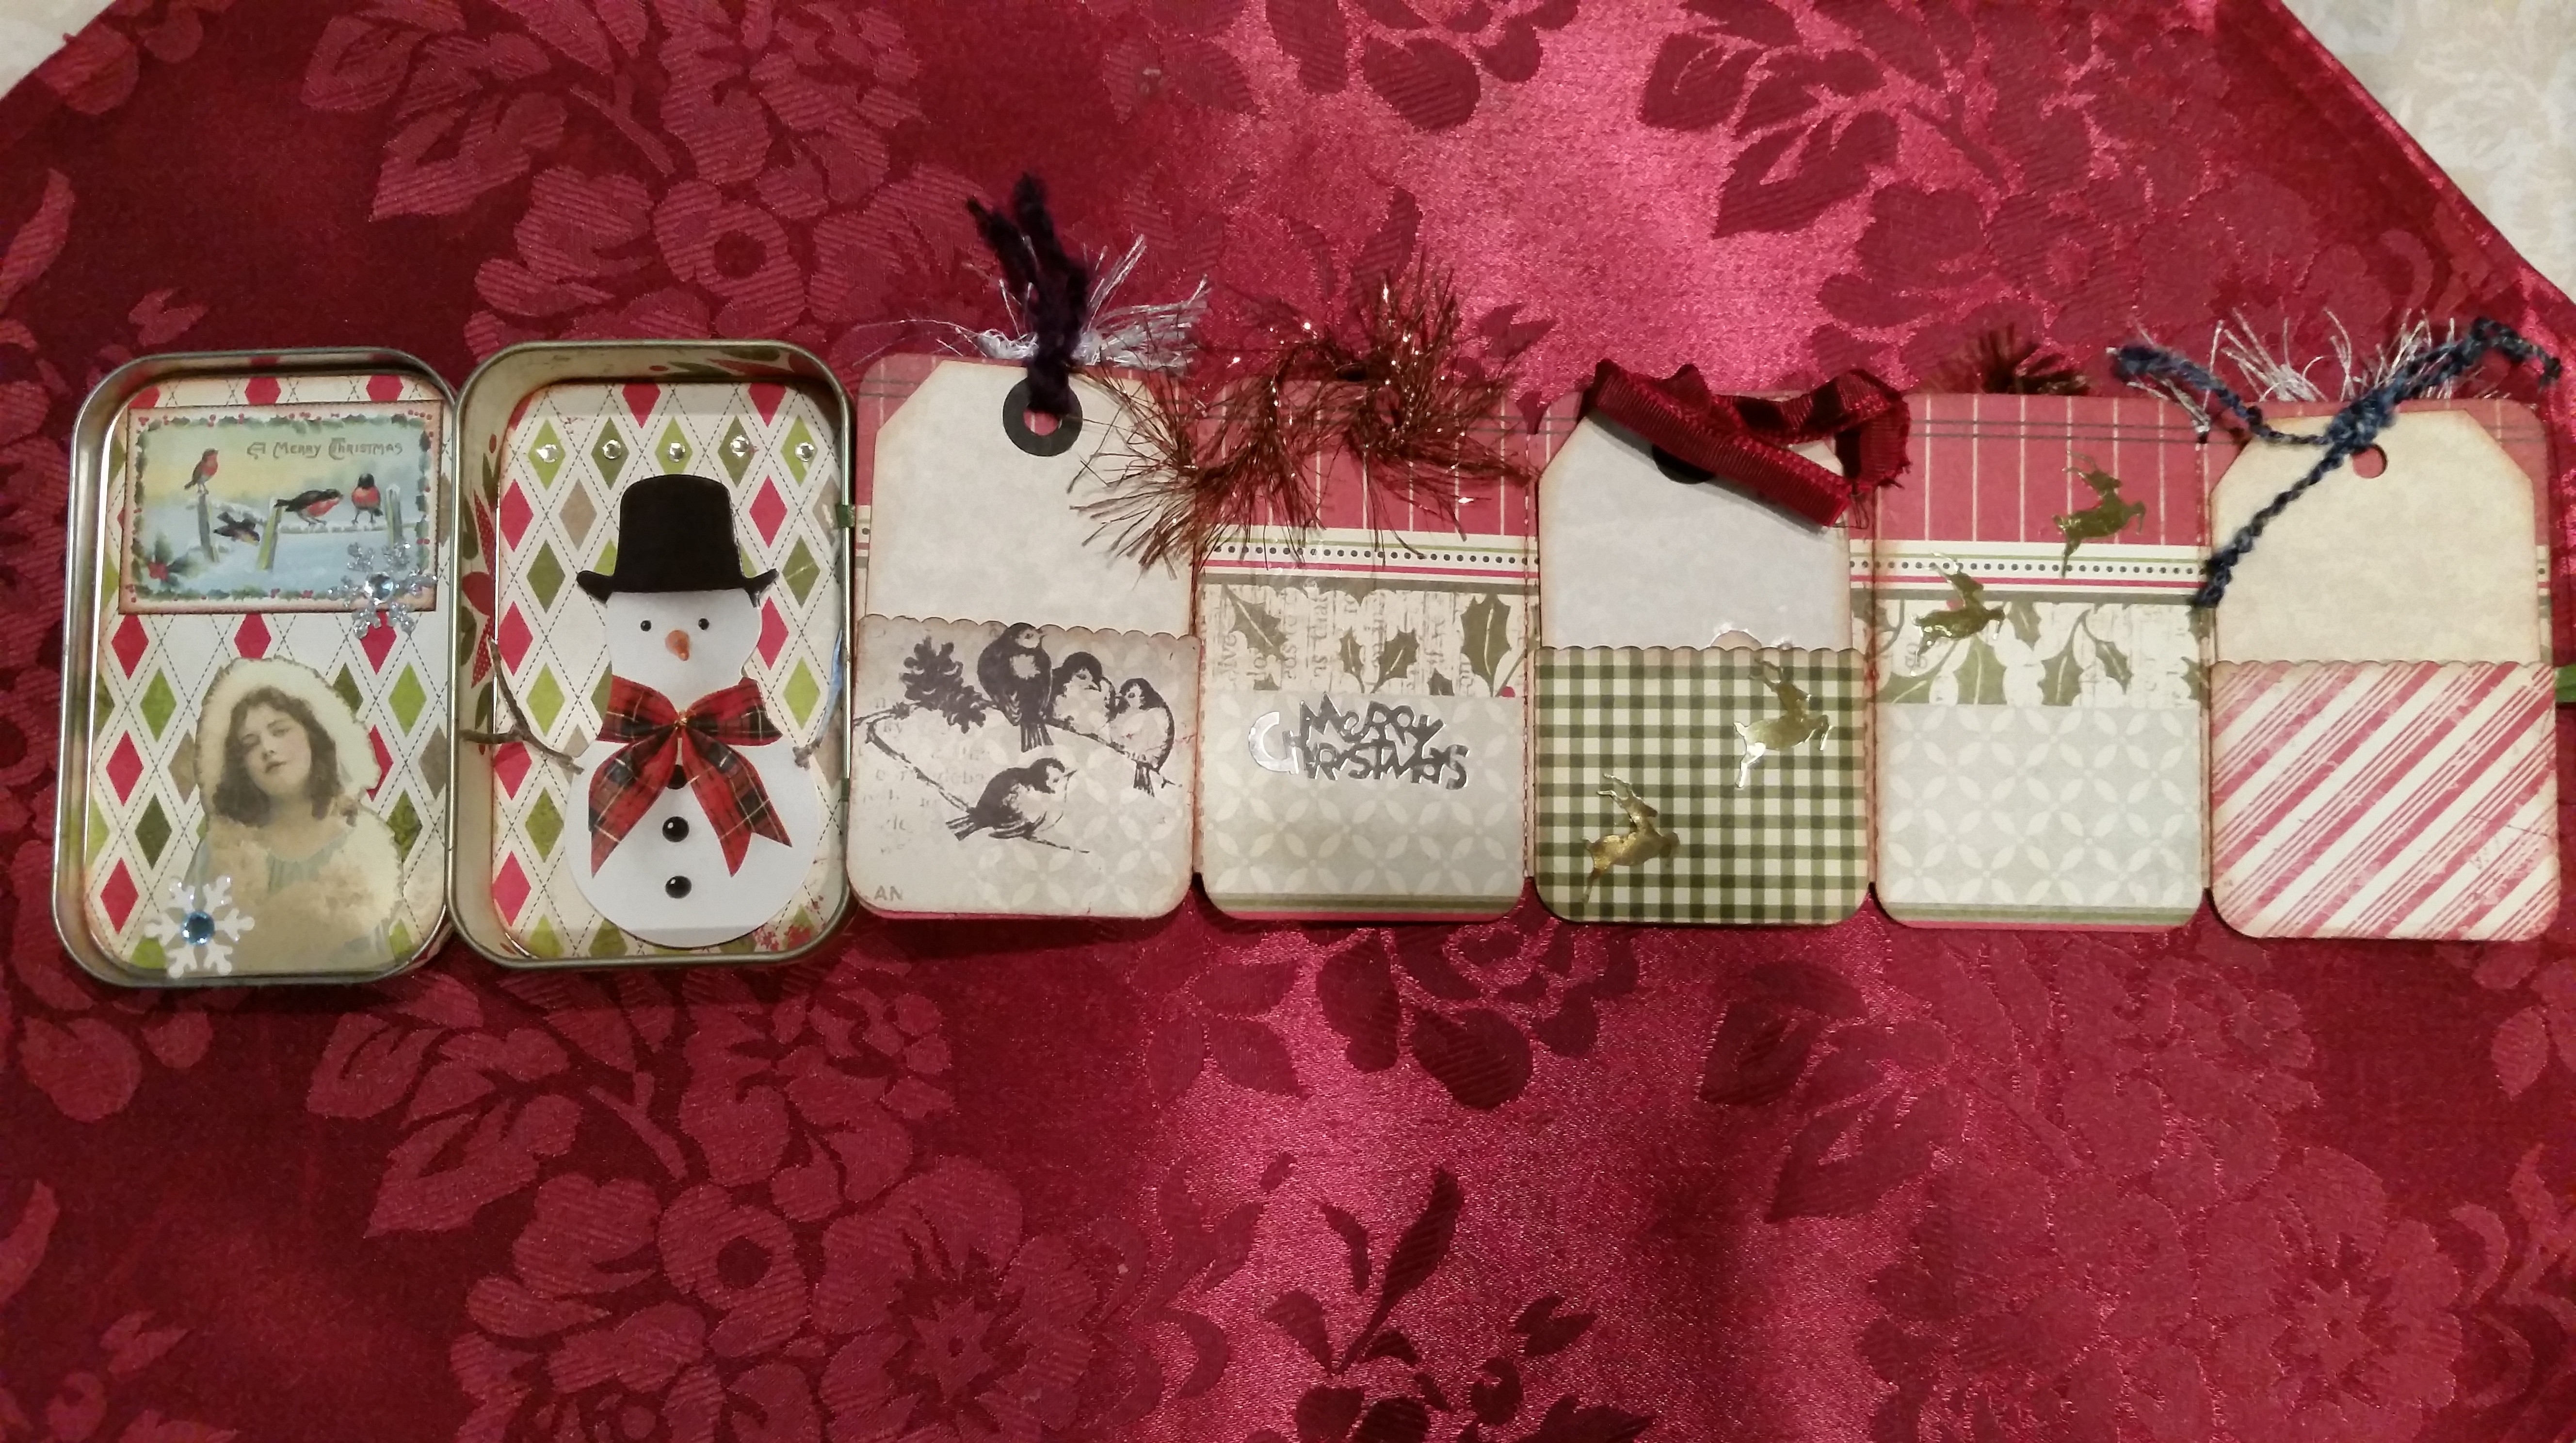
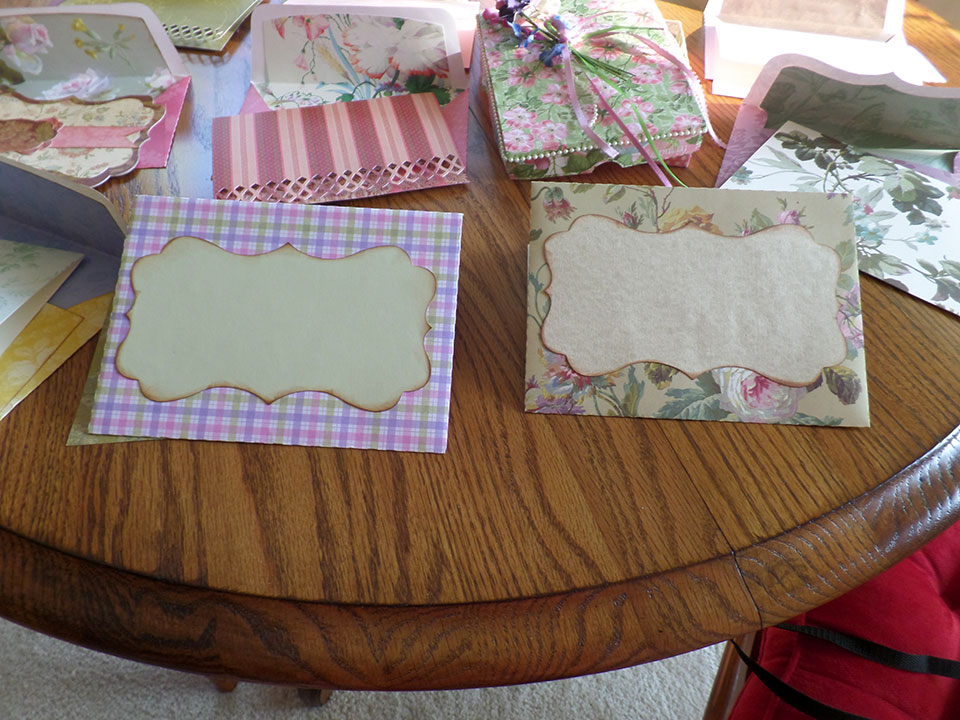
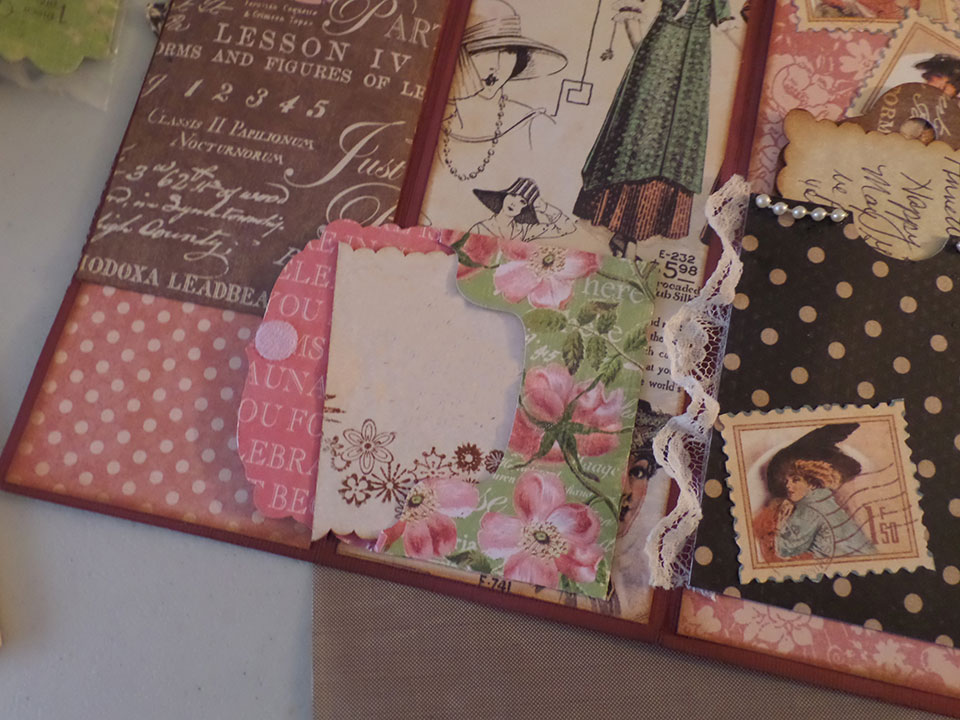
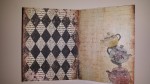
 Some of the tags for the pockets and envelopes.
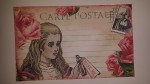
 An envelope with a mini card.
 Another envelope with mini card.
 Two more. Tiny keys and locks add a nice
touch to any vintage paper craft.
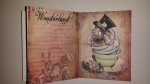
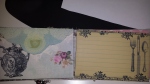
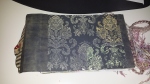
 And even more envelopes with cards. I love the double sided designer
paper. It makes the inside of the envelopes look so nice.
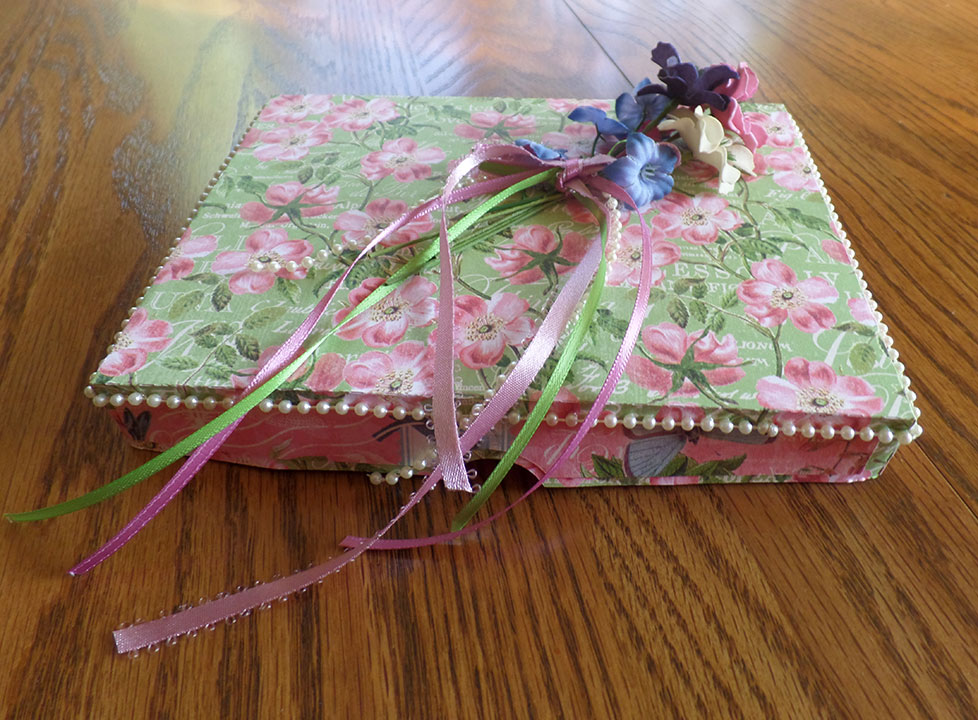
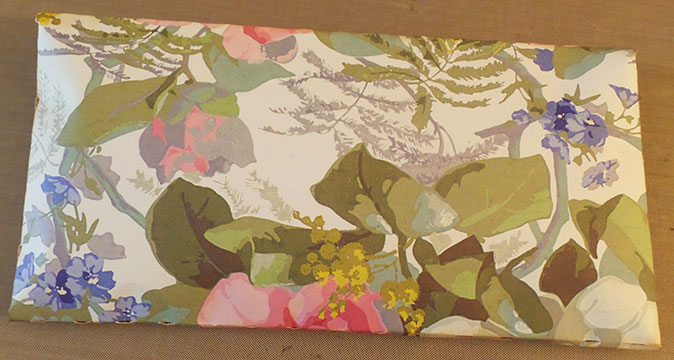
 The envelope I made for the card. It’s bulging because of
all the greetings added to the mini envelopes and pockets.
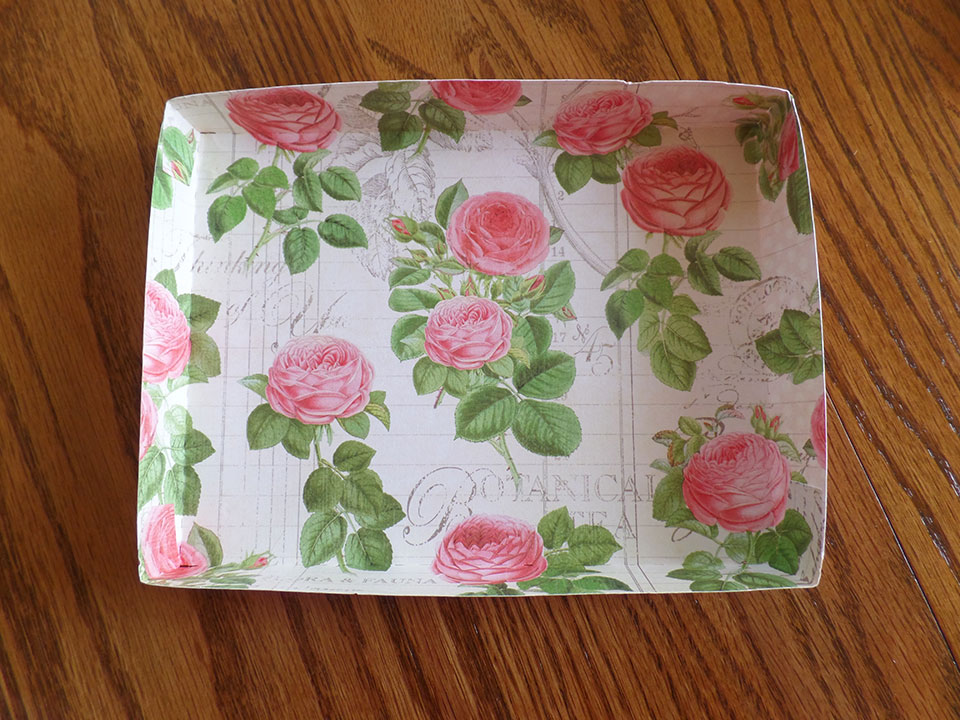
 Inside of the envelope with lining.